
Knauf Vapor Barrier Installation: The San Jose Owner’s Guide
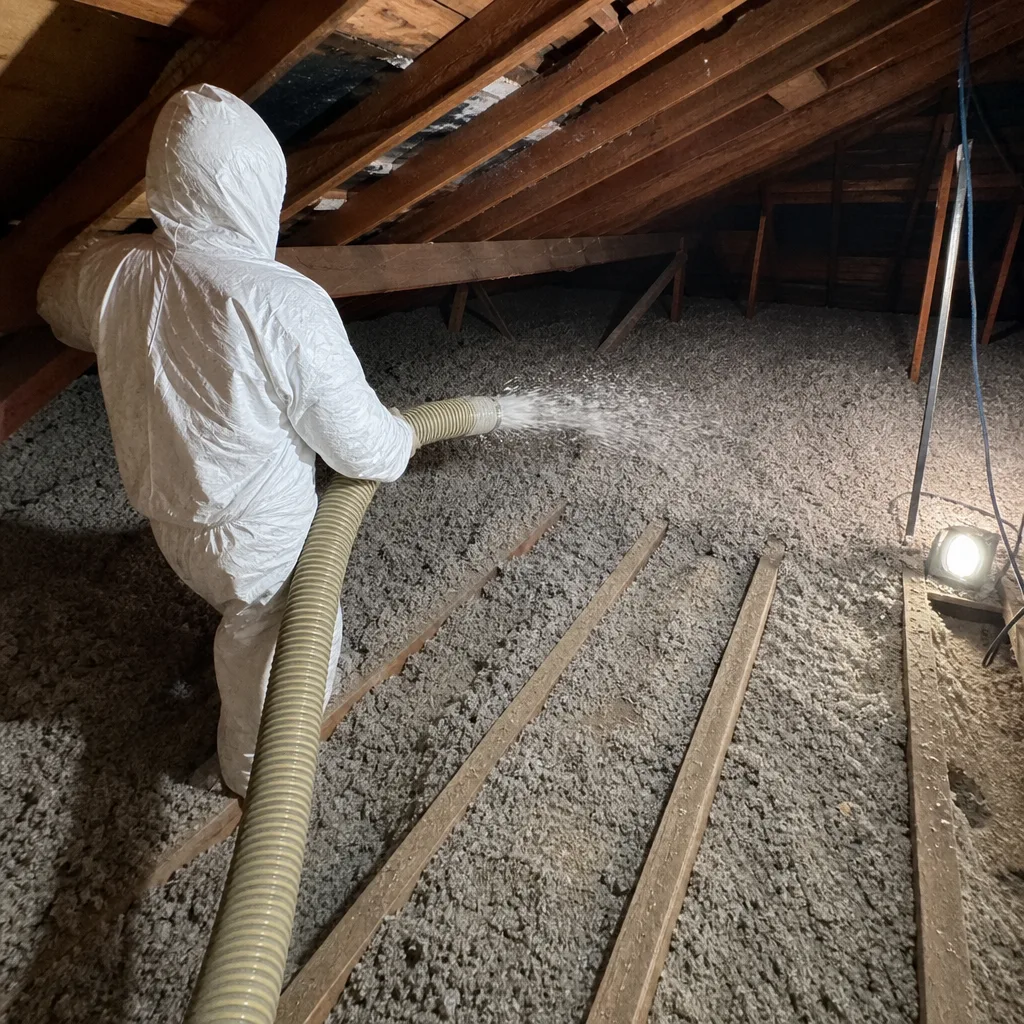
Knauf vapor barrier installation in San Jose typically costs $1.25 to $2.75 per square foot installed, with most attic jobs landing between $900 and $2,400 depending on square footage and access. Our trucks carry Knauf-compatible vapor barrier materials and we can usually complete the job same-day or next-day. Most San Jose homeowners discover a vapor barrier problem the same way: a utility bill that creeps up month after month, or a musty smell in the attic that wasn’t there last spring. The barrier itself is a thin poly sheet stapled across the attic floor or walls, and when it tears, separates at the seams, or gets pulled back during rewiring or duct work, moist air from the house moves straight up into the insulation. Once that happens, the insulation’s performance drops fast and the fix is never a patch job that holds.
Key Takeaways
- Knauf vapor barrier replacement in San Jose runs $1.25 to $2.75 per square foot installed
- Most failures trace to seams separating or tears from attic foot traffic, not the Knauf material itself
- We stock Knauf-compatible vapor barrier rolls on the truck in standard widths
- Same-day installation is available for most San Jose attics under 1,800 square feet
- Every job gets the written Kingswell Guarantee: 365 days, in writing, come back free if it fails
Which Knauf Models This Applies To
Knauf doesn’t market vapor barriers as standalone “models” the way they do insulation batts, so the real question is which Knauf insulation product sits behind the barrier. In San Jose attics, that’s usually Knauf EcoBatt or Knauf Performance+ batt insulation, sometimes paired with Knauf blown-in fiberglass in older homes near Willow Glen or the Rose Garden. The vapor barrier itself is a 6-mil polyethylene sheet, and Knauf’s technical guidance assumes a Class I or Class II vapor retarder depending on the Climate Zone. San Jose sits in Zone 3, which matters more than most homeowners realize: a barrier that’s too impermeable here can trap moisture against the drywall in summer when the air conditioning runs hard. The compatibility gotcha we see most often is a homeowner buying a 4-mil sheet from a big-box store because it’s cheaper, then wondering why it tears during installation and sags between joists. We use 6-mil minimum, and for attics with heavy mechanical traffic we recommend reinforced poly or a Knauf-compatible smart vapor retarder that lets the assembly dry in either direction.
Identifying what you have is straightforward. The barrier will be printed with the manufacturer name and thickness every few feet along the roll. If the print is faded or buried under blown-in insulation, measure the thickness with a micrometer or caliper: 4-mil reads about 0.004 inches, 6-mil about 0.006. For OEM versus aftermarket, the honest answer is that poly vapor barrier is a commodity product with published ASTM specs, so a quality 6-mil sheet from any major supplier performs equivalently to Knauf-branded material. What matters more is the installer’s attention to seam overlap, penetration sealing, and how carefully the barrier is tucked at the eaves. We stock Knauf-compatible barrier and also carry Reflectix for radiant barrier applications where the homeowner is fighting attic heat gain more than moisture migration.
Signs Your Knauf Vapor Barrier Installation Is Failing
- Condensation on roof decking or rafters in winter. Warm, moist air from the house pushes through gaps in the barrier and condenses on the cold underside of the roof. In San Jose’s mild winters this shows up as water staining or, in bad cases, mold on the north-facing roof slope.
- Musty odor in the attic during summer. A failed barrier lets humid air into the insulation, and once Knauf fiberglass holds moisture, it holds odor too. The smell is strongest in August when attic temperatures in San Jose push past 130 degrees and bake the damp insulation.
- Utility bills rising without a rate change. Wet insulation loses R-value fast. A fiberglass batt that should be R-38 can drop to R-15 or worse when saturated. Your air conditioner works harder, and the bill tells the story within two billing cycles.
- Visible tears, gaps, or pulled-back sections. If you can see daylight between barrier sheets or tears around recessed light cans, plumbing vents, or the attic hatch, the barrier is breached. We regularly see barriers pulled back by electricians and cable installers who never re-taped the seams in San Jose homes.
- Insulation that feels damp or clumped. Reach down and touch the Knauf batts. Dry fiberglass springs back; damp fiberglass compresses and stays flat. In older Ranch-style homes near Willow Glen, we also find barriers that were stapled with 1/2-inch staples that have popped loose over the years, leaving the sheet sagging away from the joists.
Replacement Cost & What’s Included
In San Jose, expect to pay $1.25 to $2.75 per square foot for complete Knauf vapor barrier installation. A typical 1,200-square-foot attic runs $1,500 to $3,300. The range comes down to three things: attic height and access (crawl spaces near the eaves in older downtown San Jose homes add labor time), how much of the old barrier has to be removed and disposed of, and whether existing Knauf insulation has to be lifted, dried, or replaced. We give you the written number before any work starts, and that number is the number. No door-step surprises. Parts and labor are line-itemed on the quote, so you see exactly what the barrier costs and exactly what the installation costs.
Every Knauf vapor barrier installation includes the barrier material, seam tape, staples and fasteners, penetration sealing around vents and light fixtures, a clean job site when we leave, and the Kingswell Guarantee in writing. If the barrier fails within 365 days, we come back and fix it at no charge. That’s the guarantee, spelled out, on every job.
How Much Does Knauf Vapor Barrier Installation Cost in San Jose?
| Attic Size | Typical Installed Cost | Time on Site |
|---|---|---|
| Under 800 sq ft | $1,000 to $2,200 | Half day |
| 800 to 1,500 sq ft | $1,500 to $3,300 | Full day |
| 1,500 to 2,500 sq ft | $2,400 to $5,500 | One to two days |
| Over 2,500 sq ft or steep roof | $4,500 to $7,000+ | Two to three days |
Call (669) 333-3579 for an exact written quote. Estimates are free, and a live person answers the phone 24 hours a day.
DIY or Call Us?
The safety picture here is more forgiving than garage door springs or electrical panels, but a vapor barrier job still demands care. You can safely inspect your own attic: check for standing water, damp Knauf batts, visible tears, and whether the barrier is still stapled tight to the joists. You can photograph the damage and you can measure the attic square footage with a tape measure from the hatch. What goes wrong with DIY installation is less about danger and more about doing the job twice. Seam overlap under 6 inches leaves gaps that leak air. Staples driven too shallow pop loose within a season. Penetrations around recessed lights, bath fans, and plumbing vents need to be sealed with the right tape and technique, not just cut and draped. And in San Jose’s Zone 3 climate, getting the vapor retarder class wrong means trapping moisture against drywall, which creates a mold problem worse than the one you started with.
If all that sounds like a Saturday job you’d rather not own twice, call (669) 333-3579. A real person answers, and we’ll give you a straight answer about your attic before anyone sets foot in it.
FAQs
A properly installed 6-mil Knauf-compatible vapor barrier in a San Jose attic lasts 20 to 30 years before the poly starts to degrade from repeated heat cycling. What fails sooner is the installation: staples pop, seams separate, and foot traffic from plumbers or electricians tears the sheet. In attics that get regular service traffic, we see tears inside five years. The barrier material itself is rarely the weak point.
Small tears under 6 inches can be repaired with compatible poly tape, but seam failures and large tears mean the barrier’s air-sealing function is already compromised across a wider area. In San Jose homes where the barrier was installed during original construction 25-plus years ago, we usually recommend full replacement over patching: the material is brittle, the staples are failing, and a patch job ends up costing more per year of useful life than a clean reinstallation. Call (669) 333-3579 and we’ll tell you honestly which camp your attic falls in.
Most San Jose vapor barrier installations finish in one day. A typical 1,200-square-foot attic takes 4 to 6 hours with a two-person crew, including removal of the old barrier, cleaning the area, installing the new Knauf-compatible sheet, and sealing all penetrations. Larger attics or those with extensive blown-in insulation that must be moved and replaced can run into a second day. We give you a written arrival window before work starts, and we show up in that window.
We stock Knauf-compatible 6-mil polyethylene vapor barrier rolls on the truck in standard widths, along with the seam tape, staples, and penetration seals the job requires. We also carry Reflectix for radiant barrier applications. You don’t order anything and you don’t wait on a supplier. When we arrive for the estimate, we have what we need to complete the job that day in almost every case.
Written by Glenn Hartley, Owner, Woolsey Insulation San Jose at Woolsey Insulation San Jose, serving San Jose and nearby areas.