
Rockwool Vapor Barrier Installation: The San Jose Owner’s Guide
Rockwool vapor barrier installation in San Jose typically runs between $1.50 and $3.50 per square foot installed, depending on whether you need a standard 6-mil polyethylene sheet or a smart vapor retarder like Intello or Membrain. Most single-attic retrofits land in the $900 to $2,400 range, and we stock vapor barrier materials on our trucks for same-week installation in most San Jose neighborhoods. The way owners usually discover a problem is subtle: drywall feels cold in one corner, or there’s a faint musty smell near the ceiling, or the heating bill crept up 18% in a year and nobody can explain why. By the time you see peeling paint or water stains, moisture has been working against the Rockwool for months. We’ll walk you through exactly what’s happening, what it costs to fix, and how to know whether you’re dealing with a simple vapor barrier replacement or something that needs a closer look from one of our technicians.
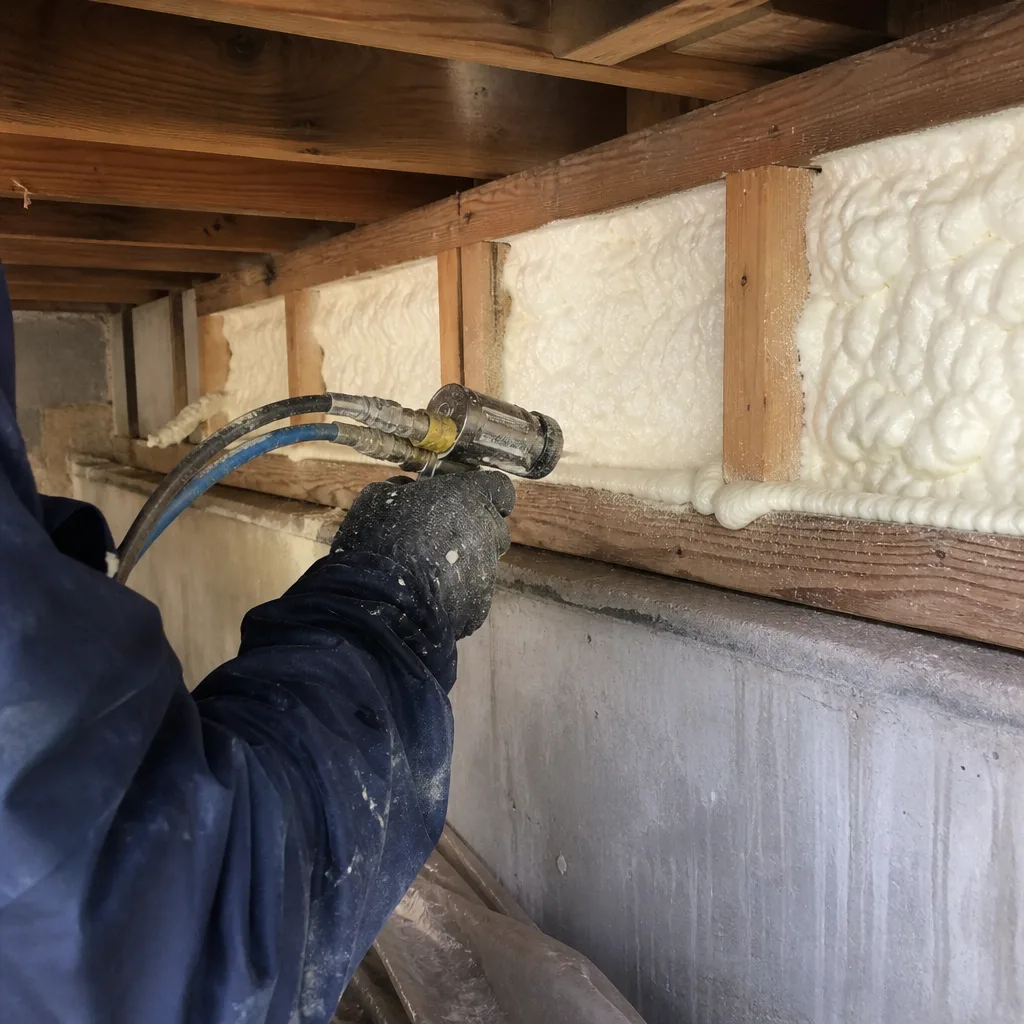
Key Takeaways:
- Rockwool itself is hydrophobic and doesn’t absorb water, but a failed vapor barrier lets moisture reach your ceiling drywall and framing anyway.
- San Jose’s winter temperature swings (low 40s at night, low 60s by afternoon) create condensation cycles that punish a weak barrier within two to four years.
- We’re an independent San Jose insulation contractor, not affiliated with Rockwool, but we install vapor barriers compatible with all Rockwool batt, board, and loose-fill products every week.
- Every job gets The Kingswell Guarantee: written price first, committed arrival window, clean job site, and 365 days of written coverage. If it fails within a year, we come back at no charge.
Which Rockwool Models This Applies To
Vapor barrier installation matters for three Rockwool product lines in particular: Comfortbatt (the semi-rigid batt used in exterior walls and cathedral ceilings), Safe’n’Sound (the denser batt used in interior partitions and between floors), and Rockwool board products like Comfortboard 80, which show up on exterior wall sheathing and below-grade applications. For any of these, the vapor barrier goes on the warm side of the insulation, meaning the interior face in San Jose’s climate. That’s where condensation forms when warm indoor air meets a cold surface, and the barrier’s job is to stop that moisture before it reaches the Rockwool. Rockwool itself won’t rot or grow mold, but your framing and drywall will, and that’s what the barrier protects.
Here’s the gotcha most owners don’t know: if you have Comfortbatt in a 2×4 wall cavity, you need a barrier rated for that specific depth and facing type. A barrier specified for a 2×6 cavity won’t lay flat in a 2×4 wall, and a barrier with the wrong perm rating can trap moisture behind it in San Jose’s shoulder seasons. We check the Rockwool label on the batt edge before we quote anything. If the original label is gone, we measure the cavity depth and test the existing barrier’s perm rating with a moisture meter. For OEM versus aftermarket, Rockwool doesn’t manufacture its own vapor barrier rolls, so there’s no true OEM part. The quality difference comes down to the barrier class: standard 6-mil poly (Class I, about 0.06 perms) versus smart vapor retarders (Class II, variable perm that lets some moisture escape in summer). For San Jose’s climate, we typically recommend a smart retarder if your home has air conditioning, because a Class I barrier can trap summer humidity that migrates inward.
Signs Your Rockwool Vapor Barrier Installation Is Failing
- Cold spots on ceilings or walls near the attic hatch. This usually means the barrier has pulled away from a seam or staple line, letting warm air escape into the attic. The Rockwool is still doing its job, but the barrier gap is letting moisture-laden air bypass it entirely.
- Musty smell without visible water. That odor is often the first sign of condensation collecting on the back side of the drywall. A barrier with a small tear can go months without showing stains, but the smell gives it away early.
- Peeling paint or bubbling drywall tape along ceiling edges. Moisture wicking through a failed barrier softens the drywall paper and breaks the paint bond. In San Jose homes with original 1960s drywall, this shows up fast because the older paper facing is more absorbent.
- Higher heating bills with no other explanation. A compromised barrier lets conditioned air leak into the attic, and the furnace works harder to hold temperature. We’ve seen 12 to 18% utility jumps in Willow Glen and Rose Garden homes where the only problem was a barrier seam that let go.
- Visible frost on attic nails or roof sheathing in winter. If you go up on a cold morning and see frost on the nails poking through the sheathing, that’s moisture from the living space freezing on the way out. The barrier isn’t stopping it anymore.
Replacement Cost & What’s Included
In San Jose, expect to pay $1.50 to $2.50 per square foot for a standard 6-mil poly barrier installed, and $2.50 to $3.50 per square foot for a smart vapor retarder. A typical single-story attic retrofit over a 1,500 square foot home runs $1,100 to $2,200. What drives the range? Access, mostly. A low-slope roof with a tight attic means more labor, and if we’re working around existing Rockwool that needs to be lifted and reset, that adds time. The material itself is the smaller part of the bill; the labor and the care taken at the seams and penetrations are where the cost actually goes.
Every quote we give is a written price before any work starts. That price includes the barrier material, all seam taping, sealing around ceiling penetrations like light fixtures and vent pipes, and cleanup. It also includes the 365-Day Done Right Promise: if the barrier fails within a year of installation, we come back and make it right at no charge, in writing. No door-step price changes, no callbacks that go to voicemail. You call, a real person answers, and the price we quoted is the price you pay.
DIY or Call Us?
You can safely do the inspection work yourself: look for visible gaps along seams, check whether the barrier is sagging away from the Rockwool, and feel for cold air movement near the attic hatch. That’s honest, useful information to have when you call us. Where DIY goes wrong is the install itself. Getting vapor barrier seams airtight requires the right tape (not duct tape, which fails within a season), proper stapling patterns, and careful detailing around ceiling boxes and plumbing vents. A small gap you can’t see from below translates to continuous moisture movement for years, and you won’t know it failed until the drywall shows it. Also, if you’re working in an attic with blown-in insulation covering the barrier, you’re dealing with fiberglass dust and low clearance; that’s a respirator job at minimum, and a fall risk if you’re not used to moving on attic joists. If you’d rather have it done right and covered in writing, call us at (669) 333-3579 and we’ll give you a free estimate with a written price before anything gets started.
FAQs
A properly installed vapor barrier over Rockwool lasts 15 to 25 years in San Jose’s climate. The barrier itself can last longer, but the tape at seams and the sealant around penetrations typically degrades first, and that’s what usually signals a replacement. If the attic is ventilated properly and the barrier was installed with the right perm rating, you’ll get two decades without issue. If it was installed with duct tape or left with gaps, expect to see failure signs within three to five years. Call (669) 333-3579 if you’re unsure which situation you’re in; we’ll tell you straight without charging for the phone call.
Yes, if the damage is limited to a single seam separation or a small tear near a penetration, a spot repair with compatible tape and sealant is often all that’s needed. That typically runs $150 to $400 depending on access. If the barrier has multiple failed seams, widespread sagging, or evidence of moisture damage behind it, replacement is the honest recommendation. We’ll show you what we found, explain which option makes sense, and give you a written price for either before any work starts.
Most attic vapor barrier replacements over existing Rockwool take one day for a single-story home, and occasionally a second day if we’re working around extensive blown-in insulation or a very low attic profile. We tell you the arrival window in advance and stick to it; that’s part of The Kingswell Way, same as the written price and the cleanup afterward.
We stock Class I poly barriers and smart vapor retarders on our San Jose trucks, along with the sealing tapes and adhesives rated for use with Rockwool batt and board products. If you have a specific product in mind like Intello or Membrain, let us know when you call and we’ll confirm we have it loaded before we head out. We also work with Reflectix for radiant barrier applications, and we’re happy to talk through which material fits your specific attic or wall assembly. Call (669) 333-3579 for a free estimate and we’ll get you scheduled.
Written by Glenn Hartley, Owner, Woolsey Insulation San Jose at Woolsey Insulation San Jose, serving San Jose and nearby areas.