
GreenFiber Vapor Barrier Installation: The San Jose Owner’s Guide
GreenFiber vapor barrier installation in San Jose typically runs $1.75 to $3.50 per square foot installed, with most residential jobs landing between $800 and $2,400 for a full attic or crawl space application. We stock GreenFiber-compatible vapor barrier on our trucks and can usually schedule same-week installation, often getting the job done in a single day. Most San Jose homeowners discover they need this work after noticing damp insulation, a persistent musty smell, or seeing the old plastic sheeting torn, sagging, or pulled away from the joists. The fix is straightforward when the right material goes in with the right technique.
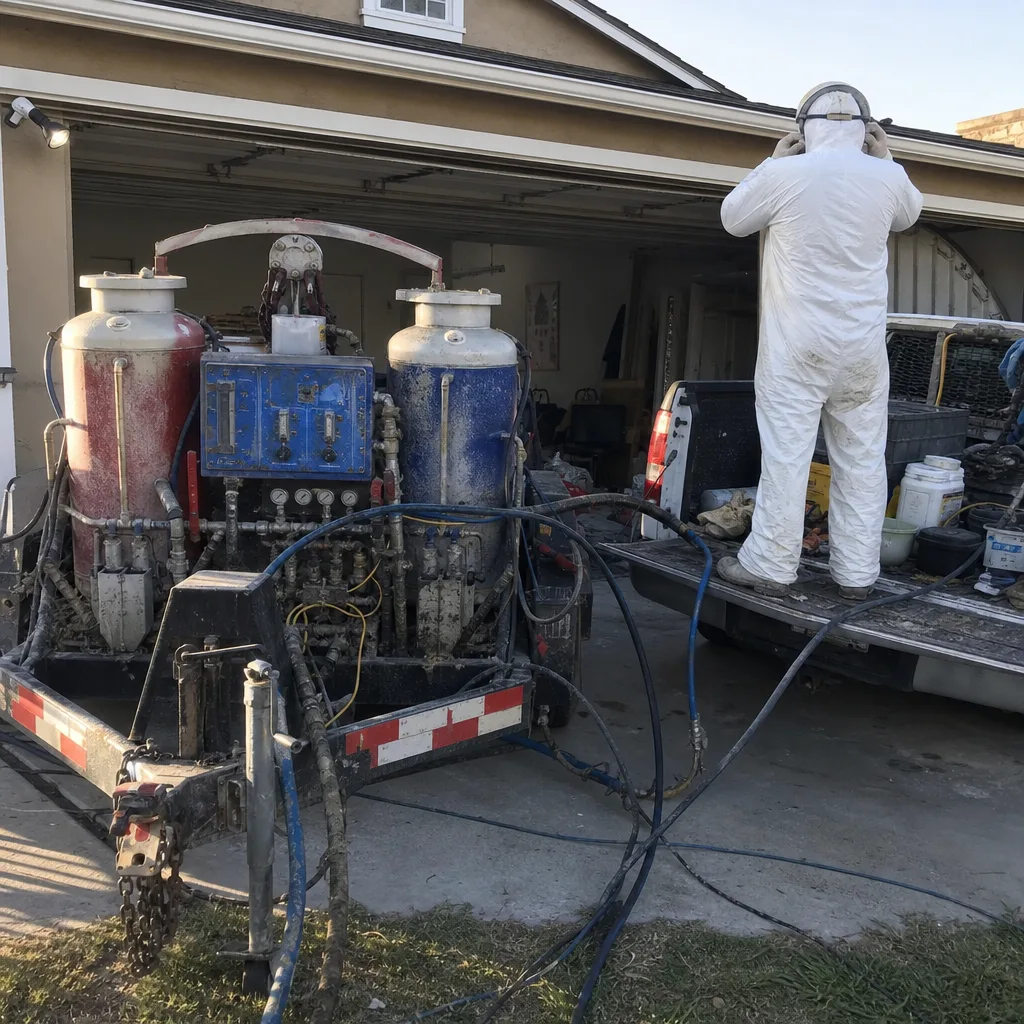
We install vapor barrier systems designed to work with blown-in cellulose insulation, including GreenFiber products. If you’ve got conditioned air escaping into an attic that’s fighting moisture from the other direction, the barrier is the layer that keeps your insulation dry and performing. Get this wrong and even the best GreenFiber blown-in cellulose loses its R-value fast. We’ve been doing this work in San Jose long enough to know exactly how local humidity patterns affect these installations.
Which GreenFiber Models This Applies To
GreenFiber’s vapor barrier installation work applies to their full line of blown-in cellulose insulation products, including Sanctuary, Insulmax, and Cocoon. The barrier itself is a separate component from the insulation, which means the compatibility question isn’t about matching a specific GreenFiber insulation model to a specific barrier. It’s about matching the barrier material and installation method to the space you’re protecting.
Here’s the compatibility gotcha most homeowners don’t know: a vapor barrier only works if it’s installed on the correct side of the insulation for your climate zone. San Jose sits in a mixed climate zone, which means the barrier placement depends on where the moisture is coming from. In most San Jose attics, the barrier goes against the warm side of the ceiling drywall, underneath the blown-in cellulose. Get that placement wrong and you’ve created a moisture trap that ruins insulation and invites mold. We see this exact mistake on roughly one in five vapor barrier jobs we’re called to fix after another contractor did the original work.
For OEM versus aftermarket: GreenFiber doesn’t manufacture a proprietary plastic vapor barrier sheet. The correct material is a 6-mil polyethylene sheeting or a reinforced poly-based product rated for vapor retarder use. We install ASTM E96-compliant material that meets or exceeds what GreenFiber’s installation specifications call for. What matters more than the brand name on the plastic is the thickness, the permeance rating, and whether it’s installed with proper overlap and sealing at every seam and penetration.
Signs Your GreenFiber Vapor Barrier Installation Is Failing
- Damp or clumping insulation: When the vapor barrier fails, moisture reaches the cellulose and the insulation mats down. You’ll see uneven coverage and reduced loft, which directly cuts your R-value.
Cause: A tear or gap in the barrier is letting conditioned air meet a cold surface and condense inside the insulation. - Musty odor in the attic or upstairs rooms: That smell is almost always organic material holding moisture. In this case, it’s wet cellulose sitting against wood.
Cause: The barrier isn’t stopping vapor transmission, so moisture is cycling into the insulation and staying there. - Water stains on ceiling drywall below the attic: This one sends homeowners to the roof first, and usually the roof isn’t the problem.
Cause: A failed or missing vapor barrier can actually trap condensation against the drywall rather than releasing it, leaving discoloration. - Visible tears, gaps, or sagging plastic in the attic: If you can see the barrier and it’s not flat and continuous, it’s not doing its job.
Cause: Original installation staples gave out, the material was too thin from the start, or foot traffic in the attic punctured it. - Higher heating and cooling bills without explanation: Wet insulation loses most of its thermal performance. Your HVAC system runs longer to compensate.
Cause: The vapor barrier failed, the insulation got damp, and now you’re paying to condition air that’s leaking through compromised cellulose.
Replacement Cost & What’s Included
In San Jose, vapor barrier replacement costs run $1.75 to $3.50 per square foot installed, depending on the access difficulty and the condition of the existing insulation. Most whole-attic jobs fall between $800 and $2,400. If the old barrier has failed and the cellulose above it is damp, you’ll also need to have that material removed and replaced, which adds to the total. We give you a written price before any work starts, so you know the full number before we touch anything.
Every vapor barrier installation from Woolsey Insulation San Jose includes the 6-mil poly material, proper seam overlap and sealing, staple or adhesive fastening per manufacturer spec, cutting around all vents and penetrations, and clean-up of old material. The Kingswell Guarantee covers the work in writing for 365 days. If the barrier fails within that year, we come back and fix it at no charge. That’s the whole point of the Done Right Promise.
Glenn Hartley has seen enough failed vapor barrier jobs in San Jose attics to know that most failures come from shortcuts: too-thin material, seams that weren’t sealed, or barriers installed on the wrong side. We don’t do shortcuts here. We do the job once, correctly, and the written guarantee backs it up.
DIY or Call Us?
You can absolutely diagnose a vapor barrier problem yourself. Go into the attic with a flashlight and look at the plastic. If it’s torn, sagging, pulled away from the joists, or missing entirely in sections, you’ve found the problem. You can also feel the insulation: dry cellulose is loose and fluffy. Damp cellulose is matted and heavy.
What you shouldn’t do is attempt the reinstallation on your own. Working in a San Jose attic means navigating the same hazards we deal with: tight joist spacing, hot attic temperatures most of the year, and the risk of stepping through the ceiling. The bigger issue is getting the placement and sealing right. A vapor barrier installed on the wrong side of the insulation or with poorly sealed seams creates a bigger moisture problem than no barrier at all. We’ve fixed enough DIY attempts to say this plainly: the material cost is a small part of the job. The knowledge of where and how to install it is what you’re paying for. If you want it done right the first time, call us at (669) 333-3579 and we’ll give you a written quote.
FAQs
A properly installed 6-mil vapor barrier in a San Jose attic lasts 15 to 25 years, matching the service life of the insulation above it. The barrier fails early only when it’s not thick enough, not sealed correctly, or damaged by foot traffic.
Small tears and gaps can be patched with polyethylene tape and a section of matching material, but any barrier with multiple failures or one that’s pulled away from the joists across more than 20 percent of the attic should be replaced. Patching a failing install usually costs more in the long run than doing it correctly.
Most San Jose vapor barrier replacements are done in 4 to 6 hours for a standard 1,200 to 1,800 square foot attic. Larger attics or jobs that require removing and replacing damp insulation can take a full day or two, and we’ll tell you the timeline in writing before we start.
Yes, we carry 6-mil poly vapor barrier material on every truck, cut to fit on site. If your job requires re-insulating after barrier replacement, we stock GreenFiber blown-in cellulose as one of the eight insulation brands we work with, along with Owens Corning, Johns Manville, Knauf, Rockwool, CertainTeed, Icynene, Demilec, and Reflectix radiant barrier products. The material recommendation fits your house, not whatever happens to be on the truck that day.
Get the R-value right, and the house does the rest of the work for you.
Written by Glenn Hartley, Owner, Woolsey Insulation San Jose at Woolsey Insulation San Jose, serving San Jose and nearby areas.