
Demilec Vapor Barrier Installation: The San Jose Owner’s Guide
Demilec vapor barrier installation in San Jose typically costs between $1,400 and $2,800 for a standard crawl space or basement application, and yes, we can usually get it done same week. You found this page because you have a Demilec product, and you’re watching it fail: peeling seams, condensation wicking into the subfloor, or a musty smell that keeps coming back no matter how many fans you run. We stock Demilec-compatible vapor barrier materials on our trucks and install them correctly the first time, with a written price before we touch anything.
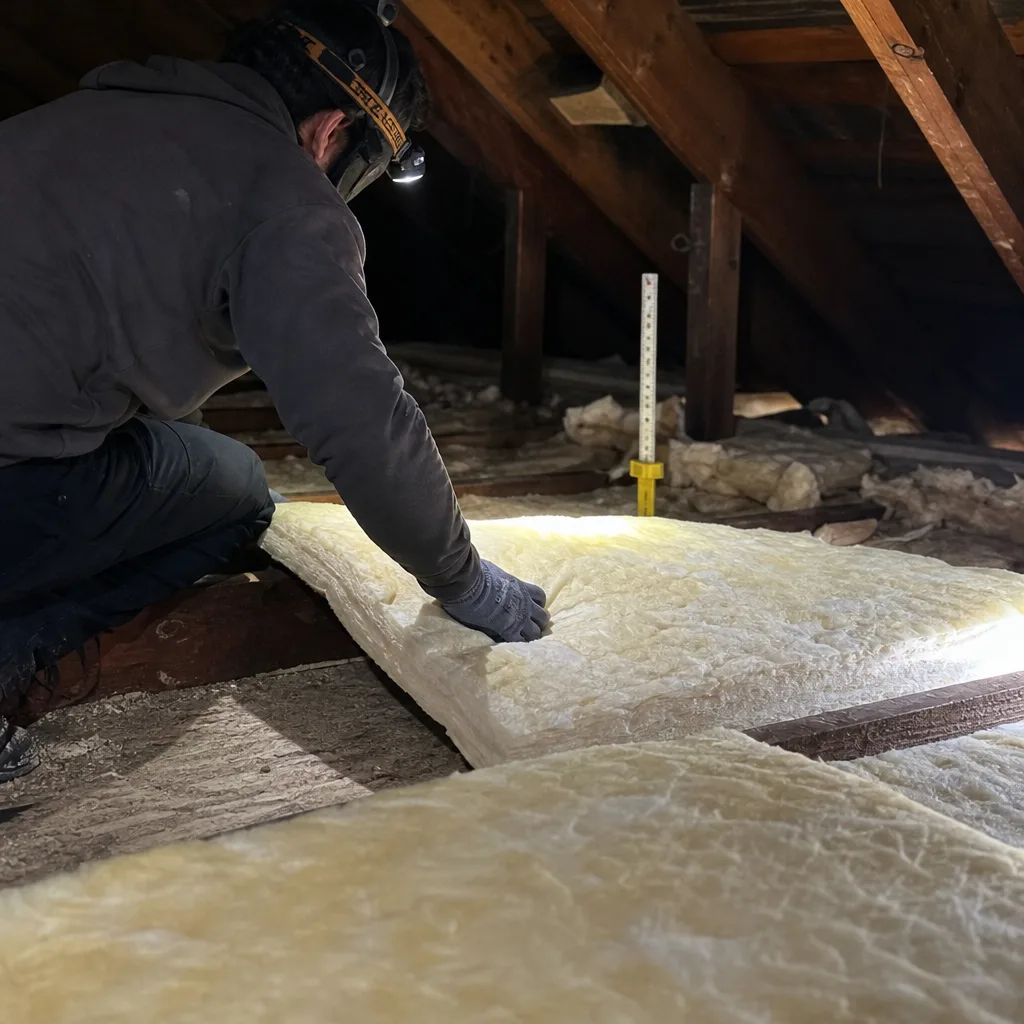
Most San Jose homeowners discover a failed vapor barrier by accident – a home inspector flags it before a sale, or a contractor points it out during an unrelated repair. By then, the barrier has often been compromised for months, quietly pulling moisture into floor joists and rim boards. The good news is this is a fixable problem, and one we see regularly across Willow Glen, Almaden, and the older Ranch-style homes near Campbell’s border with San Jose.
Which Demilec Models This Applies To
Demilec’s closed-cell spray foam lines – Heatlok HFO, Heatlok Soya, and Sealection 500 – all require a vapor barrier installation when they’re used below grade or in enclosed crawl spaces. That’s different from open-cell foam. Open-cell is vapor permeable, which means it lets moisture move through it; closed-cell acts as its own vapor retarder at 2 inches or more. But even closed-cell needs a separate polyethylene or reinforced poly barrier when you’re dealing with concrete that stays damp, which describes most pre-1990 San Jose foundations.
Here’s the compatibility gotcha most people don’t know: the vapor barrier Demilec specifies in their technical literature varies by application method. For a crawl space, you need a minimum 10-mil polyethylene or a Demilec-approved reinforced poly, mechanically fastened to foundation walls and lapped a minimum of 6 inches at seams. For a basement wall where foam is applied directly to concrete, the barrier goes against the wall face first, then the foam is sprayed over it. If you mix these up – say, using a 6-mil barrier when the spec calls for reinforced poly – the barrier fails within two or three years, usually starting at the fasteners. We’ve pulled out vapor barriers in Rose Garden homes that looked like Swiss cheese at the staple points because someone used the wrong film weight.
OEM vs. aftermarket: Demilec doesn’t sell a branded vapor barrier film, so there’s no genuine “Demilec part” here – the spec is for a class of material. That means a quality aftermarket barrier from a reputable manufacturer is functionally identical, as long as the mil thickness and lap requirements match the Demilec technical data sheet for your specific product line. We use the same materials on every job, sourced from the same suppliers, and we show you the film before it goes in.
One practical note before we get further: Woolsey Insulation San Jose is an independent insulation contractor, not affiliated with Demilec. We work with eight brands – Owens Corning, Johns Manville, Knauf, Rockwool, CertainTeed, Icynene, Demilec, and GreenFiber – and we recommend whatever actually fits the house, not whatever’s sitting on the truck.
Signs Your Demilec Vapor Barrier Installation Is Failing
- Condensation on floor joists or subfloor panels above the crawl space. Warm air from the house meets cooler surfaces below, and without an intact barrier, moisture collects on the wood. This is the earliest warning sign and the most commonly ignored one. Left alone, it turns into mold in 6 to 12 months in San Jose’s winter wet season.
- Peeling seams or sagging film in the crawl space. Vapor barrier seams fail when the lap was too narrow, the tape was the wrong kind, or the installer pulled the film too tight across uneven ground. In clay-heavy soils like parts of Cambrian and Blossom Valley, ground shifts seasonally and the film gets stress-torn at the fasteners.
- A persistent musty smell in rooms above the crawl space. By the time you smell it, the vapor barrier has been compromised long enough for fungal growth to begin somewhere below. The smell concentrates in corners of the house closest to exterior walls, where vapor has been wicking up the rim joist.
- Cupping or warping hardwood floors. When a vapor barrier fails, moisture rises into the subfloor unevenly, and the wood responds by moving. If you notice a floorboard lifting along one edge but not the other, especially in rooms over the crawl space, check the barrier before you call a flooring company.
- Rust on metal fasteners, brackets, or ductwork below grade. This one often shows up during HVAC service calls. A technician goes under the house and finds galvanized straps with rust blooms, and that means the relative humidity below the floor has been running too high for too long.
If you’re seeing two or more of these, your vapor barrier has probably been degraded for at least a year, and the moisture has already started affecting the structure. It doesn’t get better on its own.
Replacement Cost & What’s Included
For most San Jose homes with a standard crawl space, full Demilec-spec vapor barrier installation runs between $1,400 and $2,800, including material, fastening, seam taping, and cleanup. Smaller jobs – a partial barrier replacement over a 40-by-20-foot crawl space – can come in under $1,200. Larger homes with complex pier-and-beam layouts or extra-low clearance (under 24 inches) fall at the higher end, and if we need to remove failed material first, that adds time and disposal.
What you’re paying for: the barrier film itself ($150 to $450 depending on square footage and mil thickness), the fasteners and seam tape, our crew’s time (usually one day), and the written guarantee that comes with the job. We give you the exact number before any work starts, in writing, per The Kingswell Guarantee. You’ll never hear a door-step price adjustment from us. That’s not how we do business, and it’s the exact thing that’s burned so many Bay Area homeowners with other contractors.
Here’s the honest truth about the range: if someone quotes you $600 for a full crawl space vapor barrier replacement in San Jose, ask them what mil thickness they’re installing. The answer will usually be 6-mil, which is what gets used for temporary floor protection on construction sites, not what Demilec specifies for long-term vapor control under your house.
Glenn Hartley, who owns Woolsey Insulation San Jose, grew up in Los Angeles and learned the trade at LA Trade-Technical College before spending decades working attics and crawl spaces up and down California. His rule on vapor barriers hasn’t changed since day one: install the right material at the right thickness with the right lap, or don’t bother. Get the R-value right, and the house does the rest of the work for you.
DIY or Call Us?
Here’s where we’ll be straight with you: vapor barrier installation is not a dangerous job like working with high-tension springs or live electrical. It’s not going to take your hand off. What it will do, if done wrong, is waste your weekend and your money. The failure modes are invisible until they’re not – a seam tape that peels in six months, a fastener that rusts through, film that tears when soil shifts – and by then you’re pulling out material you paid for and installed yourself.
What you can safely check on your own: go into the crawl space with a flashlight and look at the existing barrier. Note the seams, the fasteners, and whether the film feels brittle or sticky to the touch. Measure the thickness with a micrometer if you have one, or cut a tiny corner piece and take it to a building supply counter. That gives you the information you need before you call anyone.
What DIY gets wrong most often: using the wrong tape (duct tape fails within months in humid conditions; you need poly-specific seam tape), skimping on lap width, and not fastening the barrier up the foundation wall far enough. In San Jose’s climate – dry summers, wet winters – the seasonal expansion and contraction of clay soil will find every shortcut you took. If you’d rather spend your Saturday on football and let us handle the crawl space, call (669) 333-3579. We’ll show up in the promised window, give you a written price, and leave the job site cleaner than we found it.
FAQs
A properly installed vapor barrier with 10-mil or thicker reinforced poly lasts 15 to 20 years in San Jose’s climate, though we’ve seen barriers hit 25 years in dry, well-ventilated crawl spaces. The variables are moisture load, soil type, and whether any plumbing leaks have been soaking the area. Thinner 6-mil material installed by previous owners often fails in 5 to 7 years. Call (669) 333-3579 for an inspection and we’ll tell you exactly what you have and how much life is left in it.
Yes, if the damage is limited to one or two seams or a small puncture, a repair is straightforward and costs between $200 and $500 in most San Jose homes. But if the film is brittle, torn in multiple places, or the wrong material was used originally, patching is throwing good money after bad. We’ll show you the condition of the existing barrier and give you an honest recommendation before any work is priced.
A standard crawl space vapor barrier replacement takes one day for our crew – we arrive in the morning, pull the old material, install the new barrier with proper laps and fasteners, and have the job site cleaned up by late afternoon. Larger or more complex spaces under 24 inches of clearance can run into a second day. Either way, you’ll have a written price and a committed arrival window before we start.
Yes. We carry 10-mil, 12-mil, and reinforced poly barrier material, seam tape, and fasteners on every job truck, so when we show up for your Demilec vapor barrier installation in San Jose, we’re ready to work the same day. We also work with other insulation brands on our service list – including Reflectix for radiant barrier applications – so we can match the right material to the job without a second trip to the supply house.
Ready to get your vapor barrier done right? Call Woolsey Insulation San Jose at (669) 333-3579. A live person answers, 24 hours a day, 7 days a week – no voicemail maze, no call-back window. We’ll schedule your inspection, give you a written price before any work starts, and back the installation with our 365-Day Done Right Promise: if it’s not right within a year, we come back and fix it at no charge.
Written by Glenn Hartley, Owner, Woolsey Insulation San Jose at Woolsey Insulation San Jose, serving San Jose and nearby areas.