
Johns Manville Crawl Space Encapsulation: The San Jose Owner’s Guide
If you have a Johns Manville crawl space encapsulation system and the liner has torn, pulled away from the walls, or started letting moisture back in, we can match the replacement material to your existing setup and install it fast. Most crawl space encapsulation repairs in San Jose run between $1,800 and $6,500 depending on square footage, how much liner needs replacing, and whether the vapor barrier underneath is still intact. We stock Johns Manville-compatible liner material on our trucks and can typically schedule the work within a few days of your call to (669) 333-3579.
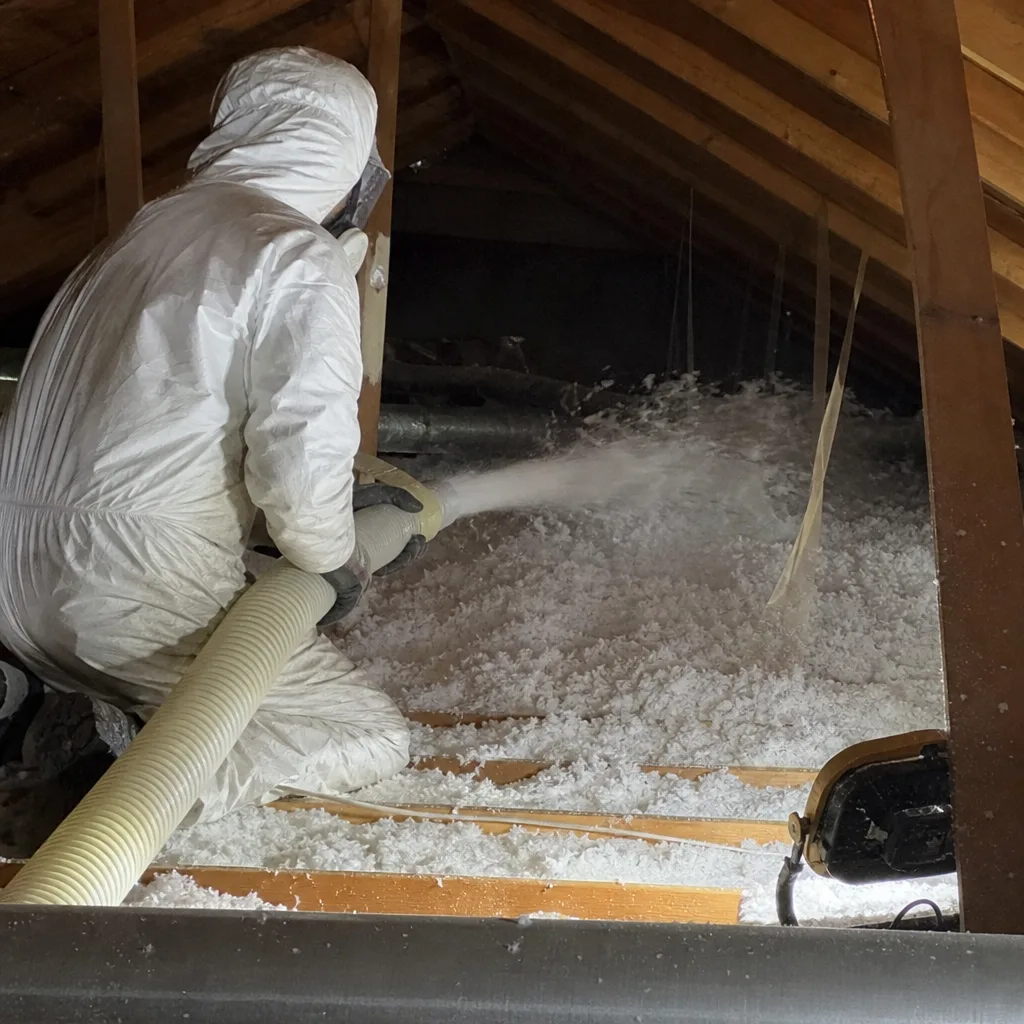
Here’s how San Jose homeowners usually find us: they go into the crawl space to grab holiday decorations or check a musty smell, and they see the white liner sagging, torn at a seam, or peeled back from the foundation wall. Sometimes a pest control report flags it first. Either way, once the barrier is compromised, moisture moves back in and the whole system stops doing its job.
One thing worth saying up front: Woolsey Insulation San Jose is an independent insulation and encapsulation contractor. We install and service Johns Manville products, but we’re not affiliated with the manufacturer. That means we give you straight answers about what’s salvageable and what needs replacing, without a brand agenda.
Which Johns Manville Models This Applies To
Johns Manville makes several crawl space liner products, and the replacement approach depends on which one you have. The most common in San Jose homes is the 10-mil reinforced polyethylene liner, usually white with a JM stamp printed on the surface. We also see the heavier 12-mil and 20-mil versions in newer construction, particularly in developments near Evergreen and North San Jose where builders have moved toward thicker barriers.
Here’s the compatibility detail that matters: the liner thickness determines how we attach it and what fastening pattern we use. A 10-mil liner from a 2005-era installation tears differently than a 20-mil liner from 2019, and the older version often had a separate vapor barrier underneath that may still be sound. We check that before recommending full replacement.
One gotcha we see regularly: if your original install used Johns Manville’s JM ClimaShield or a white-faced liner with a woven reinforcement grid, an off-the-shelf 6-mil poly from a big-box store won’t match the puncture resistance or the pull strength. That’s the biggest mistake DIY replacements make. We carry reinforced liner stock that matches the JM spec range so the patch or replacement section behaves the same as the original.
If you’re not sure which product you have, look for the printed manufacturer name and mil thickness along the edge of the liner, usually within the first few feet of the crawl space entry. If it’s too faded to read, we measure the material thickness on site and match from there.
Signs Your Johns Manville Crawl Space Encapsulation Is Failing
- Standing water or damp soil on top of the liner. This means groundwater is coming up from below, either through a tear or because the original install never had a proper drainage layer underneath. In San Jose’s clay-heavy soil, especially after wet winters, this is the number one failure we see.
- Musty smell in the house that gets worse after rain. A compromised liner lets soil moisture evaporate up into the floor joists. By the time you smell it upstairs, the crawl space has been wet for weeks.
- Liner pulled away from the foundation walls. The mechanical fasteners or adhesive have failed, usually because of soil shifting or thermal expansion. Once the liner drops, moisture wicks up the concrete stem walls and into the rim joists.
- Tears, punctures, or animal damage. Rats and raccoons chew through liner material faster than you’d expect, especially in older San Jose neighborhoods with mature landscaping. A 10-mil JM liner is tough, but it’s not rodent-proof.
- Visible mold or mildew on framing above the liner. This tells you humidity in the crawl space has been elevated long enough to colonize. The liner failure usually started months before the mold showed up.
Any one of these is reason enough to call. All of them together means the encapsulation system has stopped protecting the house, and every day it stays open is a day moisture keeps moving in.
Replacement Cost & What’s Included
Here’s what we quote in San Jose, and we put it in writing before any work starts:
- Small tear repair or seam re-seal: $350 to $800, same-day job, adhesive and patch material matched to your liner.
- Partial liner replacement (one wall or section): $900 to $2,200, including removal of damaged material, new reinforced liner, and re-fastening to the foundation wall.
- Full re-encapsulation (typical 1,000 to 1,800 sq ft crawl space): $3,500 to $6,500, including new reinforced vapor barrier throughout, wall attachment, seam taping, and pier wrapping where needed.
What drives the range: crawl space height (a 24-inch crawl takes twice as long as a 40-inch one), how much old liner needs cutting out, whether there’s standing water that needs pumping first, and access to the entry point. We give you the exact written number after we look at the space, not before, and that number does not change at your door.
Every John Manville crawl space encapsulation job we do includes our 365-Day Done Right Promise. If the liner tears, pulls loose, or fails within a year of the install, we come back and fix it at no charge. That’s in writing, on every job, no exceptions.
DIY or Call Us?
Crawl space encapsulation isn’t dangerous the way garage door springs or electrical panels are, but it is miserable work. You’re on your stomach or knees in a dark, damp, 24-inch-tall space, dragging heavy liner material around, and trying to get a seal that actually holds.
What you can safely check yourself: where the tear is, how much liner is affected, whether there’s standing water, and roughly how big the covered area is. That’s useful information when you call us. What goes wrong with DIY: using the wrong mil thickness, sealing seams with tape that peels in humid air, or leaving the old damaged liner underneath the new one. We’ve pulled out plenty of DIY layers in San Jose crawl spaces, and the redo always costs more than doing it right the first time.
The honest answer: this is one job where the tools, the material, and the access matter more than the effort. If you want it done and done once, call us at (669) 333-3579. We’ll come look, tell you what we see, and give you a written number before we touch anything.
FAQs
A properly installed reinforced JM liner in a San Jose crawl space typically lasts 15 to 25 years, sometimes longer if the space stays dry and pest-free. The failure point is rarely the material itself, it’s the installation details: seam quality, wall attachment, and what’s happening underneath the liner. If you have a 10-mil liner from the early 2000s, you’re at or past the realistic service life. Call (669) 333-3579 and we’ll tell you honestly whether it’s worth patching or time to replace.
Yes, if the damage is a single tear, a failed seam, or a section pulled away from one wall, we can repair it for a few hundred dollars and it’ll hold for years. What we won’t do is keep patching a liner that’s brittle, rodent-chewed in a dozen places, or saturated underneath. If the liner has failed structurally, patching is throwing money away. The inspection tells us which situation you have.
Most full replacements in San Jose take one to two days. A small repair is usually done in two to three hours. We show up with the liner material, fasteners, tape, and a crew that’s done this enough times to move fast without cutting corners. Get the R-value right, and the house does the rest of the work for you.
Yes, we keep reinforced liner stock that matches Johns Manville’s 10-mil and 12-mil specs on our trucks, along with JM-compatible seam tape and fasteners. We also carry Reflectix for insulation-specific applications where that material is the better fit. If your project needs a heavier 20-mil liner, we’ll confirm that on the inspection and have it ready for the install day.
Written by Glenn Hartley, Owner, Woolsey Insulation San Jose at Woolsey Insulation San Jose, serving San Jose and nearby areas.