
Johns Manville Vapor Barrier Installation: The San Jose Owner’s Guide
We install Johns Manville vapor barrier and vapor retarder products in San Jose attics and crawl spaces, with most installations running between $1,400 and $3,200 depending on square footage, access, and which Johns Manville spec your project calls for. We stock Johns Manville vapor barrier rolls and compatible tapes on our trucks, so most San Jose jobs are done same-day or next-day. The way most homeowners discover their vapor barrier has failed: a spike in the utility bill, musty air drifting down from the attic, or visible condensation beading on insulation facing during a cold snap.
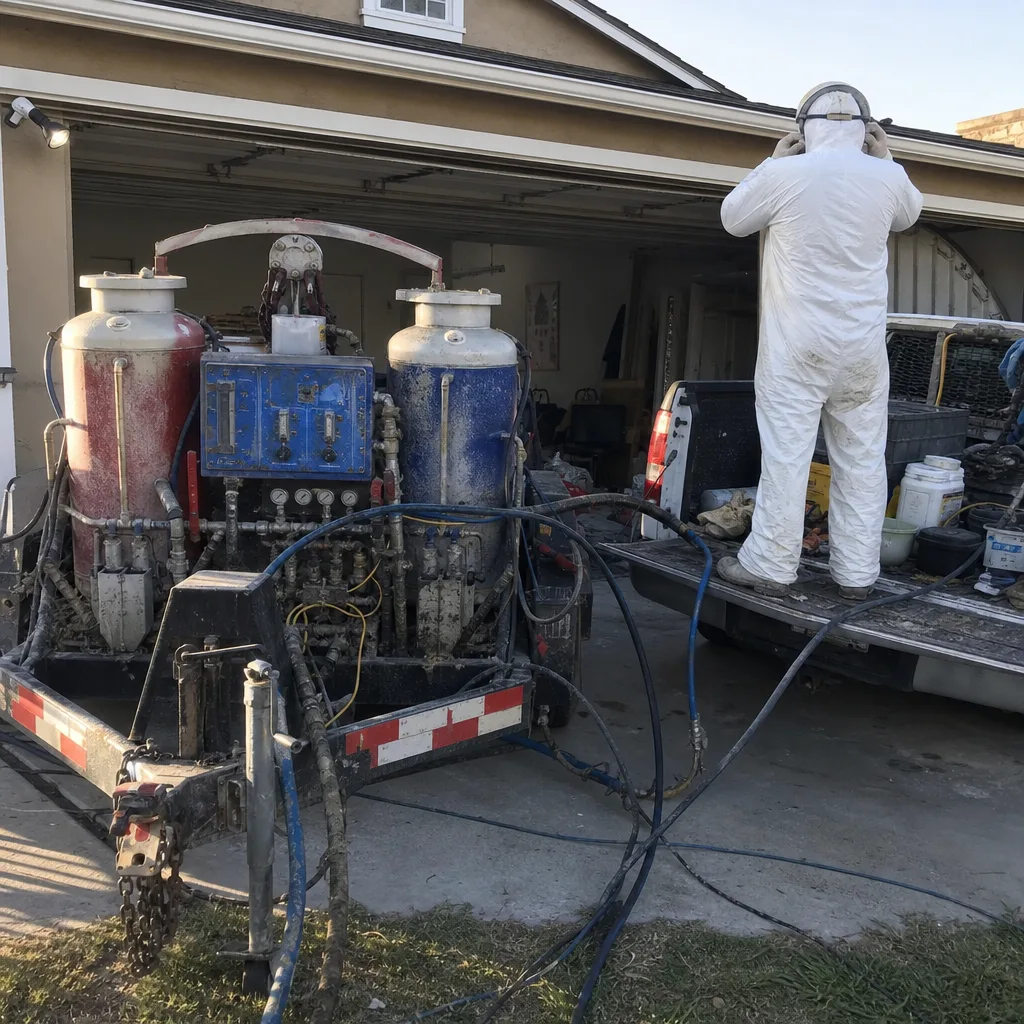
Vapor barrier is not glamorous. It’s a sheet of poly or foil-faced material that stops warm, moist air from your living space from condensing inside your insulation or against your roof deck. In San Jose’s climate, where winter nights dip into the 30s and daytime temps swing forty degrees, that condensation cycle is relentless. When the barrier fails, your Johns Manville insulation starts absorbing moisture, and wet insulation doesn’t insulate. Glenn Hartley has pulled out plenty of batts in Willow Glen and Rose Garden homes that weighed twice what they should because the vapor barrier gave out years before anyone noticed.
Key takeaways:
- Installed Johns Manville vapor barrier in San Jose typically runs $1,400 – $3,200, with an exact written price before any work starts
- We stock Johns Manville-compatible vapor barrier rolls and tapes on the truck for same-day installs
- Foil-faced and poly vapor barriers serve different purposes; the wrong choice in a San Jose attic can trap moisture instead of blocking it
- Every installation is covered by our 365-Day Done Right Promise in writing
Which Johns Manville Models This Applies To
Johns Manville makes two primary vapor barrier product lines you’ll find referenced in San Jose homes: the foil-faced Foil-Scrim-Kraft (FSK) facing bonded to fiberglass batts, and standalone poly vapor barrier rolls like the JM Vapor Block series, typically 6-mil or 10-mil polyethylene. The FSK facing is what you’ll see on the underside of Johns Manville ComfortTherm batts in older San Jose attics – that shiny kraft-and-foil layer stapled to the joists. The Vapor Block poly rolls are more common in crawl spaces and under slab applications.
Here’s the compatibility gotcha: FSK facing and poly vapor barrier are not interchangeable. FSK is a vapor retarder with a perm rating around 0.02 to 0.05 – it slows moisture but still breathes slightly. JM Vapor Block poly at 6-mil runs about 0.06 perms, and 10-mil gets you closer to 0.03. In a San Jose attic with our temperature swings, you want the spec that matches your insulation type and your home’s ventilation profile. If you’ve got faced batts, you don’t also lay poly over them – that traps moisture between the two barriers and rots your framing. We see that mistake in South San Jose ranch houses more often than we’d like.
As for OEM versus aftermarket: for Johns Manville vapor barrier, the material itself is the spec. What matters is the perm rating, the mil thickness, and the tape. The tape is where aftermarket fails fastest. We use Johns Manville’s approved foil tape for FSK seams and a compatible poly seam tape for Vapor Block. Cheap duct tape from the hardware store peels off within a year in a hot San Jose attic. We’re an independent insulation contractor – not affiliated with Johns Manville – but we install their vapor barrier products because the spec sheets are consistent and we know exactly how they perform in California’s climate.
Signs Your Johns Manville Vapor Barrier Installation Is Failing
- Condensation beads on the underside of the barrier in winter. Warm moist air from the house is reaching a cold surface. The barrier has a puncture, a failed seam, or it was installed with the facing on the wrong side. In San Jose’s December through February nights, you’ll see it first in the corners near bathroom exhaust runs.
- Staples pulling loose and the barrier sagging between joists. This happens when the barrier was stapled without enough overlap or the wrong staple pattern was used. Sagging creates air gaps, and a vapor barrier with air gaps isn’t a barrier – it’s decoration.
- White powdery residue or darkened patches on the kraft side. That’s mold or mildew feeding on the paper facing. Once mold takes hold in kraft-faced insulation, the barrier can’t be saved. The fix is removal and replacement, not repair.
- Utility bills climbing during swing seasons. When the vapor barrier allows moisture into the insulation, the R-value drops measurably. Johns Manville R-19 batts with moisture absorption can effectively perform at R-11 or worse. Your HVAC system starts running longer, and you feel it in the bill before you see anything in the attic.
- Musty smells in the living space below without a visible leak. Moisture trapped in the insulation and barrier can’t escape, so it stagnates. That stale odor drifting down from the attic is the barrier failing slowly and quietly.
Replacement Cost & What’s Included
In San Jose, expect to pay between $1,400 and $3,200 for a complete Johns Manville vapor barrier installation in an average attic, with crawl space work running $900 to $2,200 depending on access and moisture conditions. The spread comes down to a few things: whether your existing barrier is FSK facing (replacement involves new batts) or standalone poly (the barrier can be swapped without replacing all the insulation), how much of the old material has mold damage, and how tight your attic access is. A cramped 1960s rancher attic in Cambrian takes longer than a newer tract home with a pull-down stair.
Here’s what you get with us, and it’s in writing before any work starts: the material cost for Johns Manville vapor barrier or retarder, the seam tape, the staples and fasteners, the labor to remove the old failed material, and the labor to install and seal the new barrier correctly. No door-step surprises, no “we found something extra” upcharge. And every installation carries our 365-Day Done Right Promise: if it’s not right within a year, we come back and make it right at no charge. The Kingswell Way is simple – say the price, show up in the window, leave the attic cleaner than we found it, and put the guarantee in writing.
DIY or Call Us?
Vapor barrier installation isn’t as dangerous as garage door springs or panel work, but it’s genuinely unpleasant and easy to get wrong. What you can safely check yourself: look at the facing in an accessible section of your attic. Is it sagging, punctured, or showing dark stains? Take photos and mark the spots. That gives us a head start on the estimate. What goes wrong with DIY: you puncture the barrier walking the joists, you staple it too loosely and it sags within months, or worst case, you put poly over faced batts and create a moisture trap that rots your roof deck over several years. That last one costs real money to fix.
If you’re comfortable in a confined space and you know which side of the barrier faces warm, a single small patch might be manageable. But a full vapor barrier installation in a San Jose attic is a one-day job for a crew that does it every week. We’ve already got the materials on the truck, the right tape, and the experience to know what a correct staple pattern looks like. Call (669) 333-3579 and we’ll give you a written price before anyone touches your attic.
FAQs
A properly installed Johns Manville vapor barrier in a San Jose attic typically lasts 20 to 30 years before the poly begins to degrade or the facing delaminates. The real killer in our climate is heat cycling – attics here routinely hit 130 degrees in August, and that thermal stress eventually breaks down the polyethylene’s plasticizers. If your barrier was installed before 2005, it’s worth having it inspected. Call (669) 333-3579 and we’ll take a look during an estimate visit – the estimate is free.
Small tears and failed seams can sometimes be repaired with the correct seam tape, but only if the surrounding material is still flexible and intact. If the poly has become brittle or the FSK facing shows mold staining, repair is a temporary patch on a failing product. We’ll tell you honestly which situation you have – we see both regularly in San Jose homes – and we won’t sell a replacement when a repair will hold. That’s the same honesty Glenn Hartley has run his crews on since his days learning the trade at Los Angeles Trade-Technical College.
Most San Jose vapor barrier installations take 4 to 6 hours for an average attic, and we can often do it same-day or next-day depending on what’s already on the schedule. Crawl space work in tight-access homes, like many older Eichlers in San Jose, can stretch to a full day. We’ll give you a committed arrival window when we set the job, and the written price includes the full scope so you’re not watching the clock wondering about the bill.
We stock Johns Manville vapor barrier rolls and compatible seam tapes on our trucks, along with materials from the other brands we work with – Owens Corning, Knauf, Rockwool, CertainTeed, Icynene, Demilec, GreenFiber, and Reflectix for radiant barrier applications. That means if you call before noon, there’s a good chance we’re installing your new vapor barrier that same afternoon. Call (669) 333-3579 for a live answer, any hour – no voicemail maze, just a real person who can help.
Written by Glenn Hartley, Owner, Woolsey Insulation San Jose at Woolsey Insulation San Jose, serving San Jose and nearby areas.